
Navigate to the Drivers tab in the main menu of our platform interface.
Click on the ![]() button to bring up the following dialogue:
button to bring up the following dialogue:
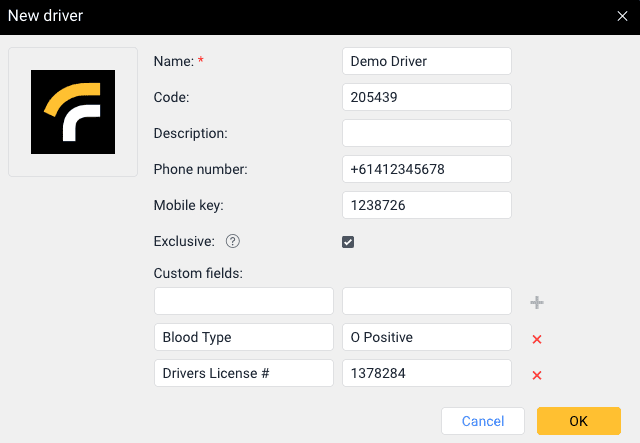
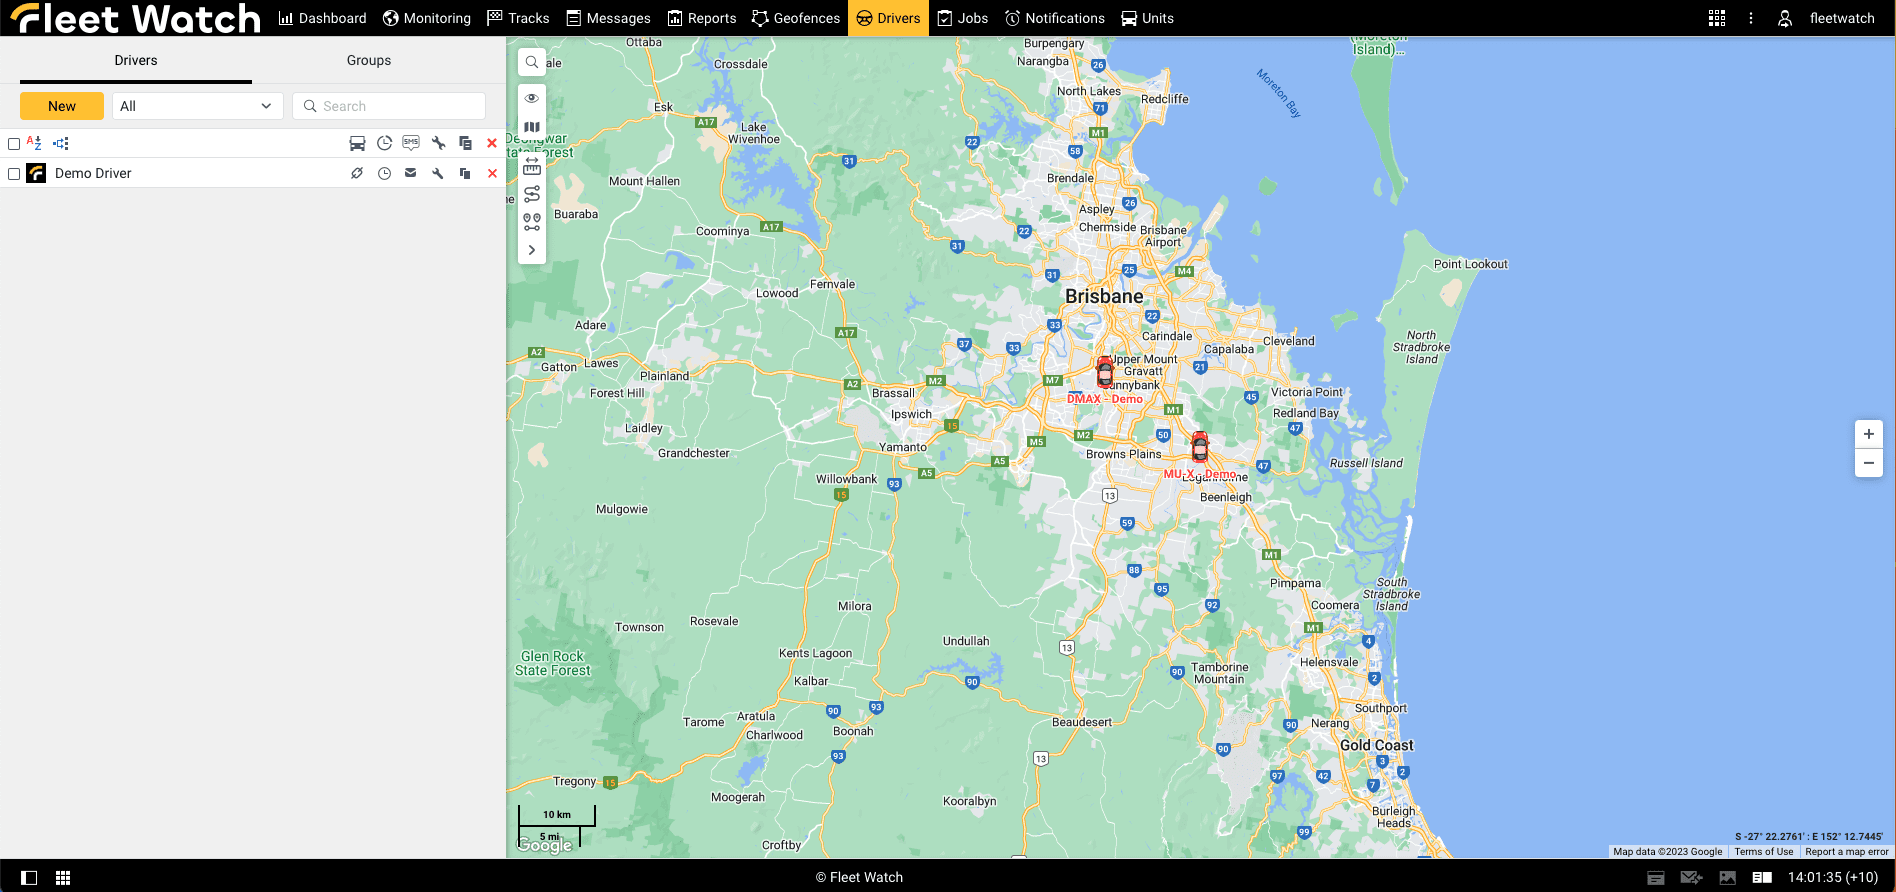
Enter the desired details as required, you can also create as many custom fields as you deem necessary, you can also add a photo of the driver. Once finished lcick the ‘OK’ button, the driver is then shown on your driver’s list:
Driver properties
The table below shows the main properties of drivers. The required fields are marked with an asterisk (*).
| Property | Description |
|---|---|
| Name * | The driver’s name in the system. |
|
Code |
The driver’s unique identification code. This is mostly used with our Driver ID feature such as our RFID solutions. |
| Description | Additional information about the driver. This is shown in the driver’s tooltip. |
| Phone number |
The driver’s phone number. It should be indicated in the international format (for example, +614). The phone number is shown in the driver’s tooltip. |
| Mobile key | The driver’s password, this can be used to set up a login for the driver on our seperate systems. |
|
Exclusive |
The option which allows you to avoid assigning several drivers to one unit at the same time. Take the following peculiarities into account:
|
| Custom fields |
Custom fields with additional information about the driver. They are shown in the driver’s tooltip. To add a custom field, enter its name, value (optional), and click on the icon You cannot add same-name custom fields in the properties of one driver. After saving the properties, all custom fields are shown in alphabetical order. This section is useful for additional information about the driver, such as drivers’ license number, expiry, blood type, emergency contact, etc. |
| Photo |
The driver’s photo or another image. It is shown in the driver’s tooltip and used as an icon to indicate the driver in the list and on the map. To upload a file, click on the photo area and select the required file on the disk. Supported formats are PNG, JPG, GIF, and SVG. It is advisable to upload square photos. To delete the photo, point to it and click on the icon |
